Short answer:
Deploy the Xink Outlook Add-in in Microsoft 365 to set new, reply/forward, and optional email signatures across Outlook on Windows, Mac, web, and mobile.
This guide explains how to deploy the Xink Outlook Add-in in Microsoft 365.
The add-in works across supported Outlook clients in Microsoft 365 and lets users view their email signatures while composing messages. It can also provide optional signatures such as shared mailbox, language-specific, or internal signatures.
The Xink Outlook Add-in is hosted by Microsoft (AppSource version) or Xink (Manifest version) and communicates with Exchange Online using Exchange Web Services (EWS) and Microsoft Graph.
- New Outlook for Windows
- New Outlook for Mac
- Classic Outlook for Windows
- Legacy Outlook for Mac > Learn more
- Outlook on the web
- Outlook for Android
- Outlook for iOS
- Outlook for Citrix
- Outlook for Azure Virtual Desktop
- Outlook for RDS
No rerouting of company emails
No privacy concerns related to mail flow rerouting. The add-in updates signatures directly in Outlook.
This article provides step-by-step instructions for deploying the Outlook Add-in to pilot users or your entire Microsoft 365 organization.
Which deployment method should I use?
- AppSource (Microsoft public store) – requires a linked Entra ID (Azure AD) connection
- Manifest (Xink private store) – supports multi-company functionality and additional customization
If you need help getting started, you can book a remote session:
Free 1-on-1 implementation (30 min.)
Prerequisites
Access required: To manage Integrated Apps and deploy add-ins in Microsoft 365, you need one of these roles: Global Admin, Exchange Admin, or Azure Application Admin.
For Classic Outlook, use at least version 1910 (Build 12130.20272). The latest version is recommended.
1) Deploy the Add-in to Microsoft 365 using AppSource
This method requires a linked Entra ID (Azure AD) connection.
The UPN and SMTP address must match. If they do not match, use the Manifest method.
Free 1-on-1 implementation (30 min.)
As a Global Administrator, you can deploy the add-in to all users or selected users without end-user involvement.
- Log in to the Microsoft 365 Portal as a Global Administrator.
- Open the Admin Center.
- Go to Settings > Integrated Apps.
- Click Get apps to open the Microsoft 365 App Store.

- Search for Xink.
- Open the app and click Get it now.

- In the confirmation window, click Get it now again to start deployment.

- Select who should receive the add-in:
Just me – deploy only to yourself
Entire organization – deploy to all users
Specific users/groups – deploy to selected users or groups (nested groups are not supported) - Click Next.
- Click Accept permissions to grant tenant access.
Note
If you do not see the prompt and are redirected to the permissions list, click Next to continue.

- When prompted, sign in with the correct Microsoft 365 Global Administrator account.
- Accept the permissions request for the Xink Add-in.

- Click Next and review the deployment settings.
- Click Finish Deployment.
- Click Done.
- Confirm that the Xink app appears in Integrated Apps.

Notes
It may take some time before the Xink app appears in the Integrated Apps list. Use Refresh if needed.
It can take several hours before the add-in is deployed to all users in your organization.
2) Deploy the Add-in to Microsoft 365 using the Manifest method
This method does not require Entra ID (Azure AD) as the data source.
It works with AAD, AD on-prem, SQL Azure, and SQL on-prem.
It supports environments where UPN and SMTP do not match (except Outlook for Android).
You can also modify the XML to enable features such as recipient-based rules.
The Manifest method also supports targeting a single company in a multi-company tenant. If you need that, contact Xink support for help adjusting the XML.
Free 1-on-1 implementation (30 min.)
- Download the manifest from the Xink portal under Preferences > Integration > Microsoft 365 (Outlook Add-in):


- Log in to Microsoft 365 Integrated Apps and choose Upload custom apps.

- Select Upload manifest file, choose the manifest file, and click Next after validation.

- Select the target users or Entire organization.
Nested groups are not supported.
- Sign in with Microsoft 365 Global Administrator credentials.
If the permissions request window appears, click Accept, then click Accept permissions.
Note
If you do not see the prompt and are redirected to the permissions list, click Next to continue.

- Finish the deployment.

Deployment timing
It may take up to 3 days before the add-in becomes visible to end users. If it takes longer, contact Microsoft support.
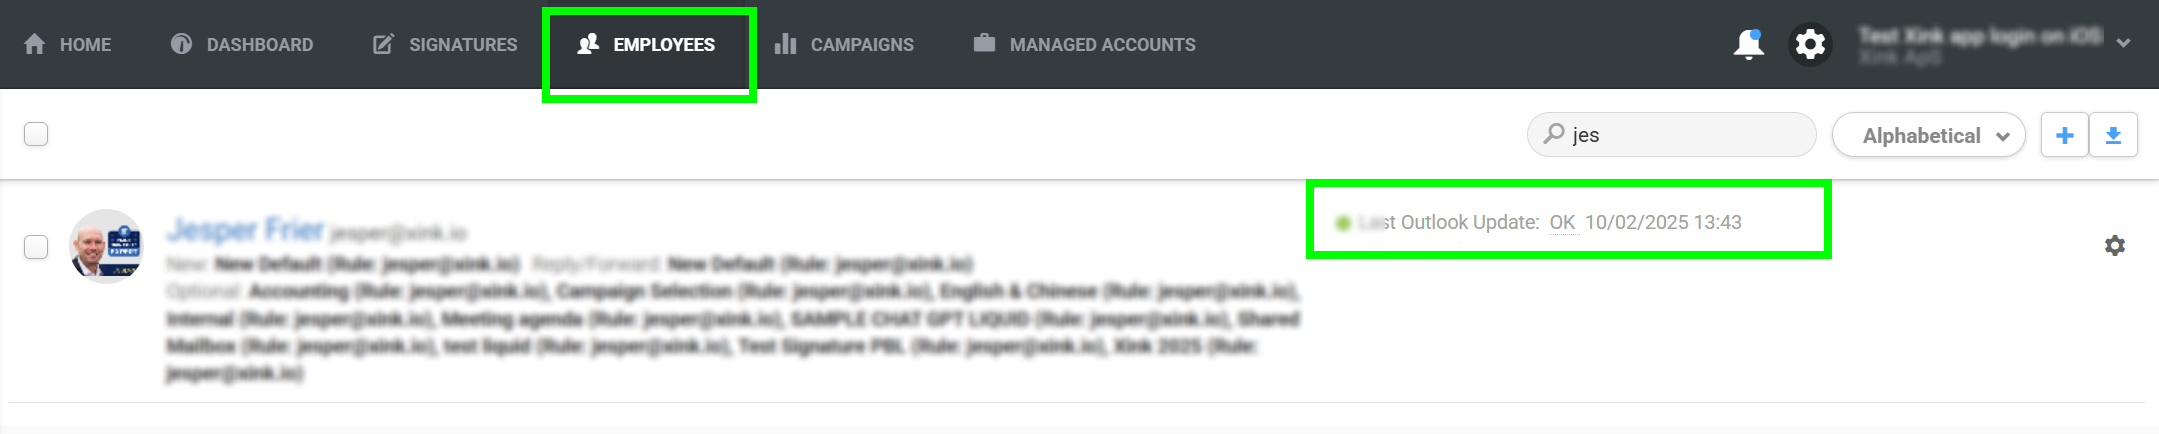
Verify that your email signatures are live
To verify deployment, go to the Employees menu in the Xink admin portal and look for the green dot. The timestamp shows the most recent signature update.
Important note about Outlook updates
The timestamp is updated only when Outlook is opened. If a user has not opened Outlook since deployment, the timestamp will not appear yet, even though the deployment is correct.
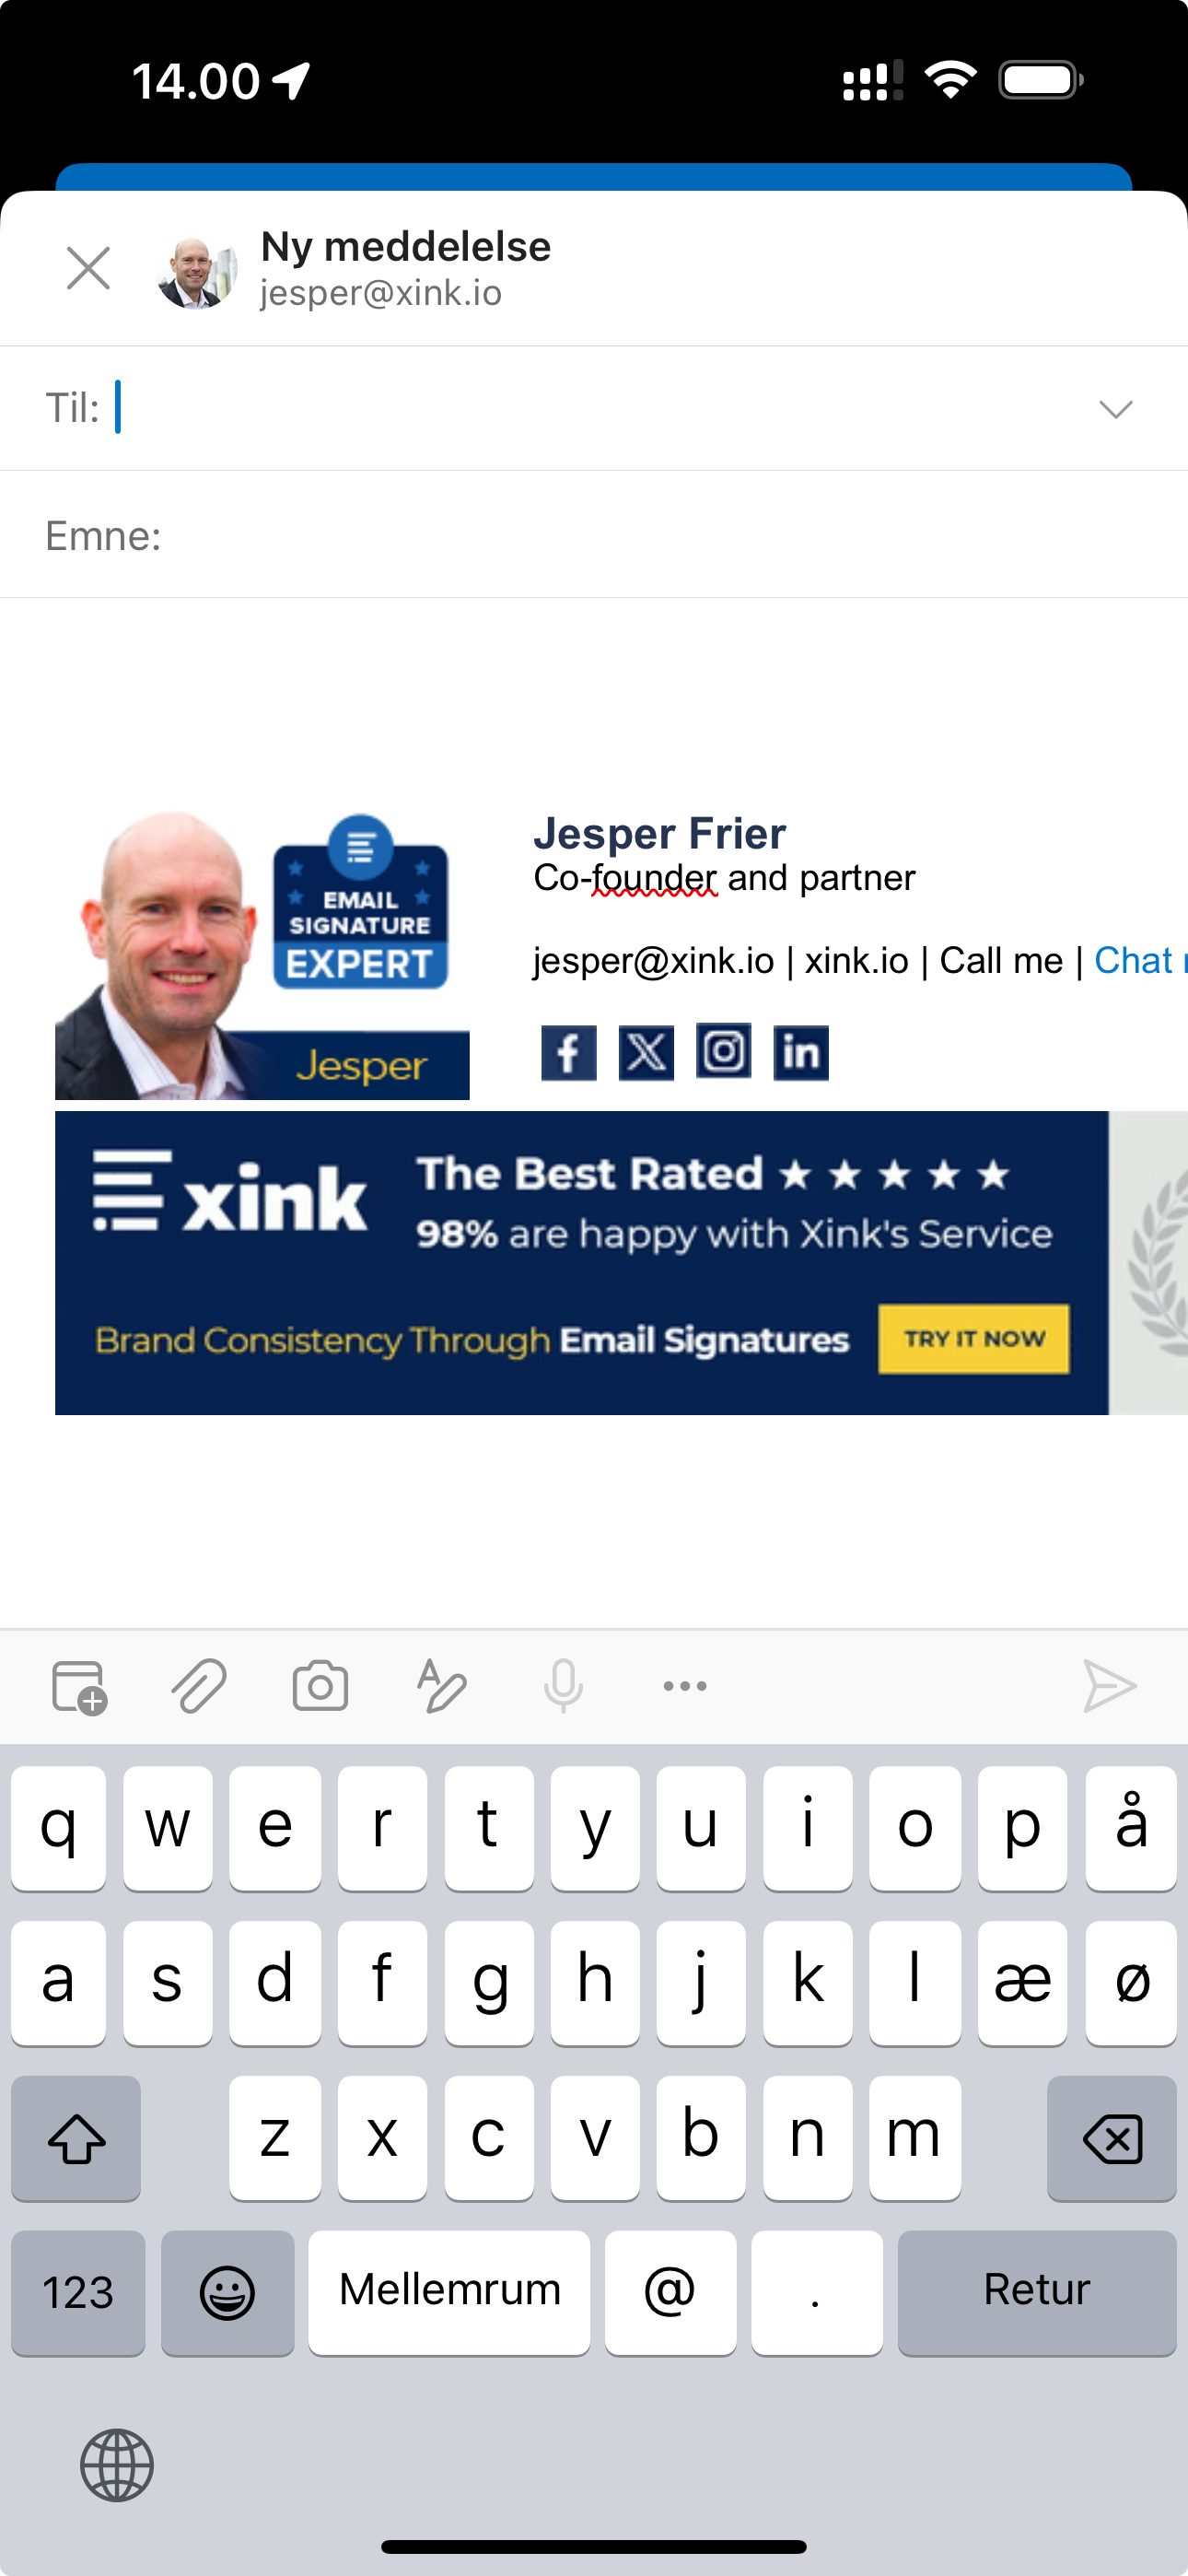
Once deployed, the add-in automatically sets the new and reply email signatures. Users can select an optional signature by clicking the Xink icon in the Outlook toolbar.
New Outlook for Windows and Mac

Classic Outlook for Windows and Mac

Outlook on the web

Outlook for iOS and Android
Redeployment note
For redeployment, remove the current add-in from Microsoft 365 Integrated Apps, then add or upload the new add-in again after removal is complete.
Allow 24–72 hours for both initial deployment and redeployment to take effect.
