Short answer:
Upload your existing email signature from Outlook or Gmail, convert it into a reusable template using dynamic fields, and preview it before assigning it to users.
Reusing your existing email signature is the fastest way to get started with Xink. You can always refine it later to match your branding and company standards.
This guide uses Classic Outlook for Windows as an example, but the same process works with New Outlook, Web Outlook, and Gmail.
After creating your template, learn how to assign it across your organization: How to assign email signatures in Xink
Step 1: Upload your existing email signature
You can upload a signature directly from your inbox and turn it into a reusable template.
How to do it
- Go to the SIGNATURES menu and click the + button
- Select Upload signature from Outlook or Gmail

- Click Upload - If your Mail To window doesn’t open, open it manually
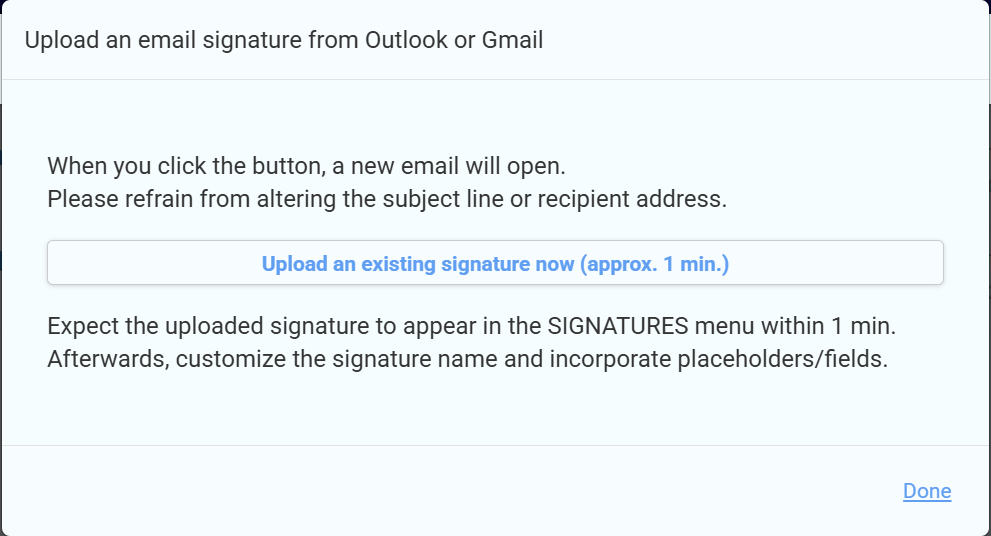
- A new email window will open - Do not edit the email or subject line - Your current signature should appear:

- Click Send to upload the signature to Xink
Step 2: Rename your signature
After uploading:
- Go to the Signatures menu
- Rename the signature to something meaningful, such as:
- Company Default
- Sales Template

Step 3: Convert it into a reusable template
Replace static text with dynamic fields so the signature works for all employees.
How to use fields
- Select text such as your name or title
- Insert a field from the Fields dropdown
Example: Replace Your Name with ((DisplayName))

You can also use fields in links, for example ((Email)):

Step 4: Preview your email signature
Use the Preview feature to test how your signature looks for different employees.
- Check layout and formatting
- Validate field data
- Test different employee profiles

Step 5: Set as default signature
You can set your signature as the default in two ways:
Option 1: From the editor
- Click New and then Save

Option 2: From the signatures menu
- Go to Signatures
- Select your signature
- Click the gear icon (⚙️) → Set as New

